NATHAN’S ART PROCESS
NOTES
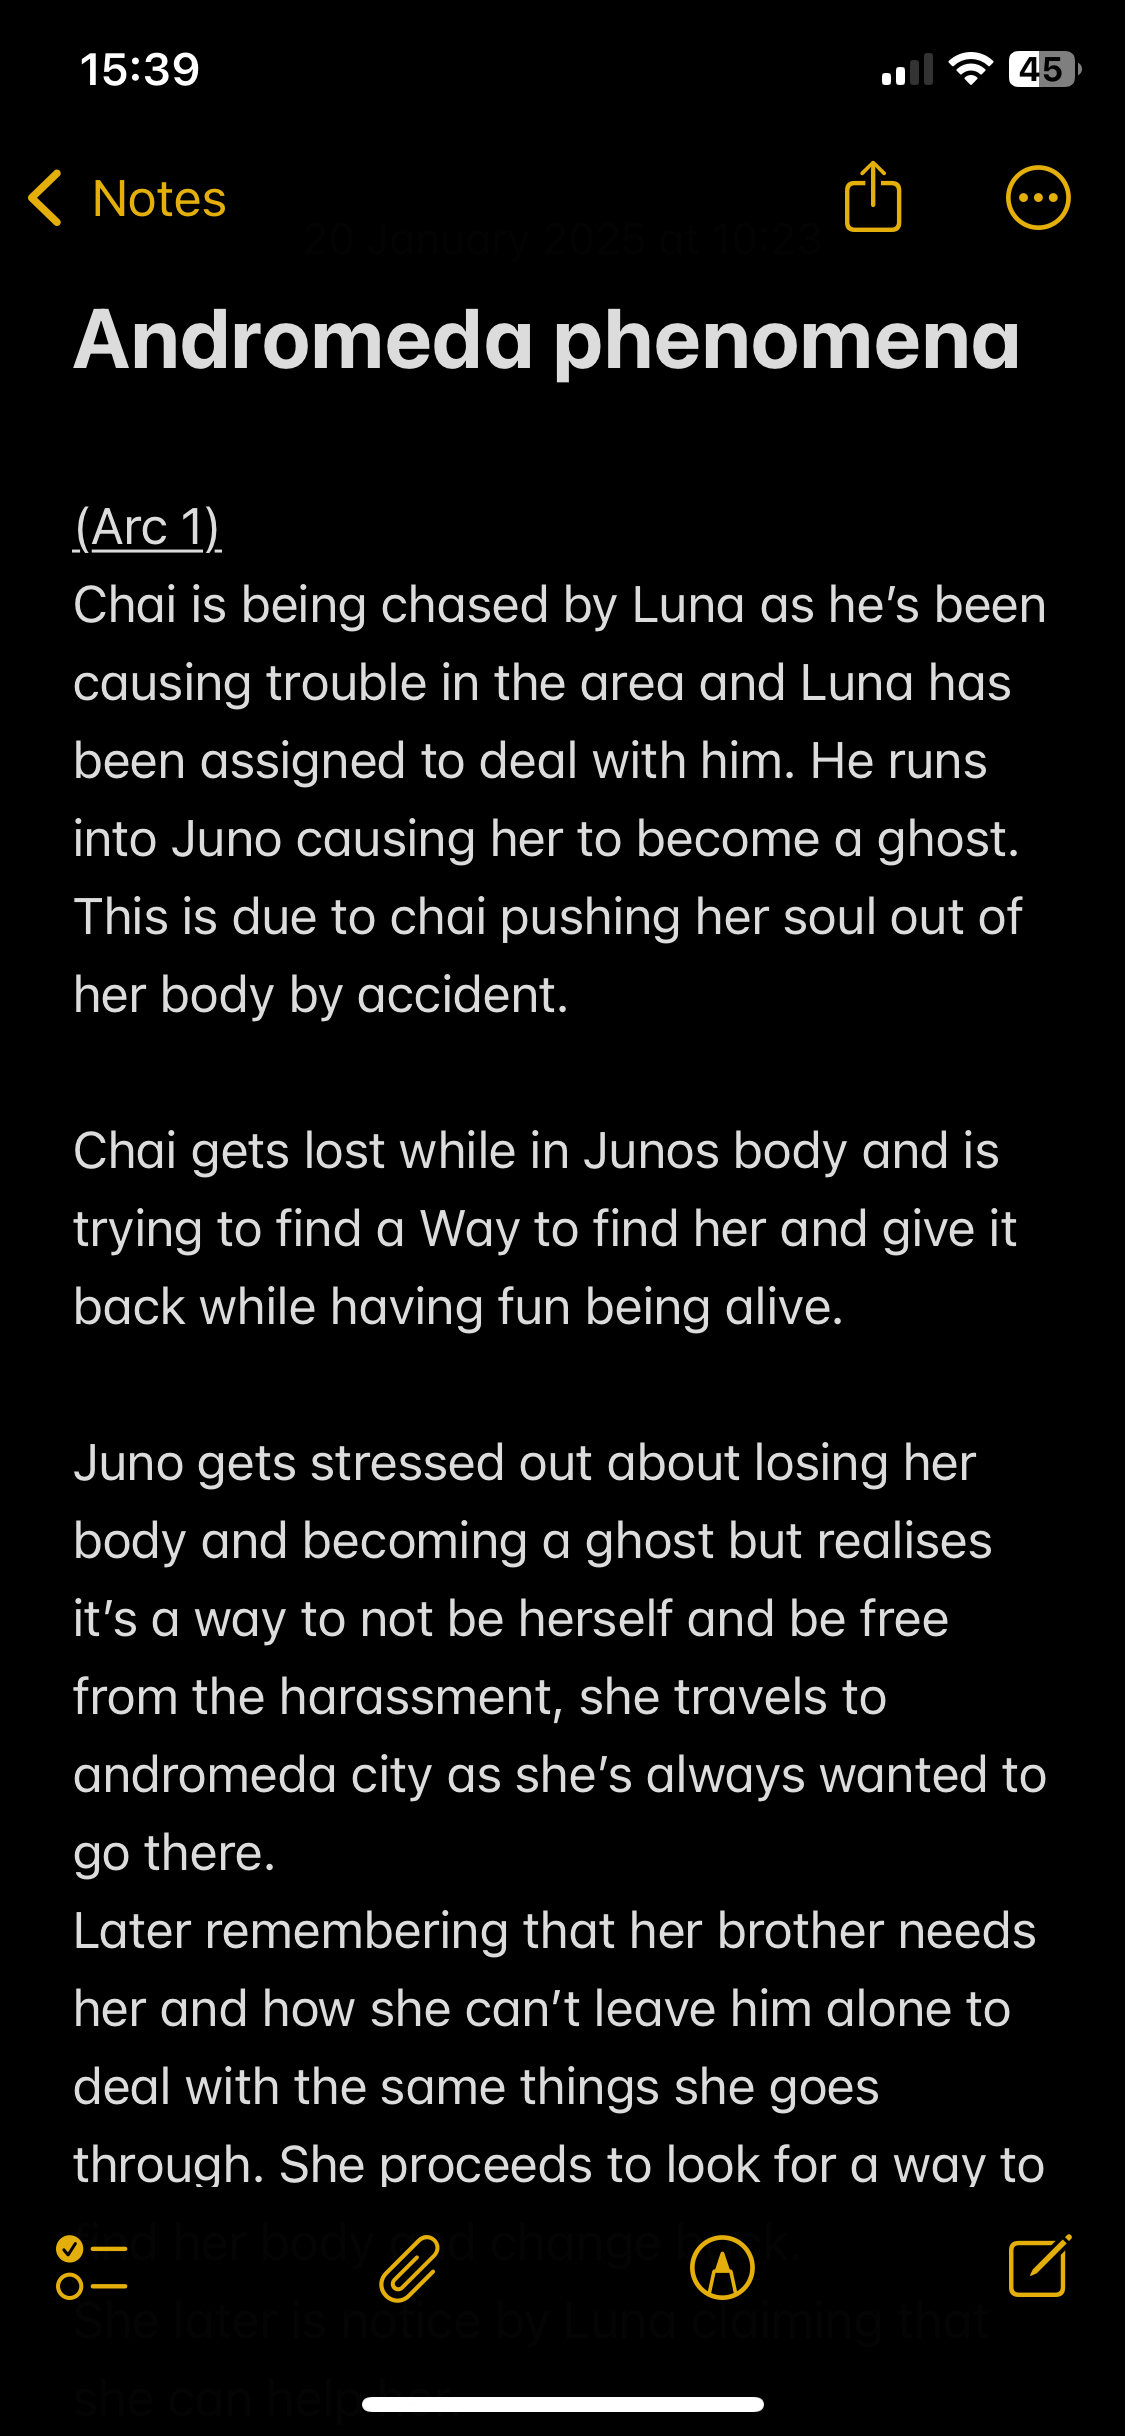
First I will write a brief summary of the beginning, middle and end of the issue in my notes. This will also be where I think of the title which will usually relate to the theme of the issue. For example the first issue is called protostar and I chose that name to go for the space theme as refers to the birth of a star. Additionally, the star represents Juno the main character of the story.

SCRIPTING
Then I go in to more detail with the script by writing dialogue for characters and describing the settings for where the story is taking place. Doing this gives me a better visual for when I start sketching the draft.
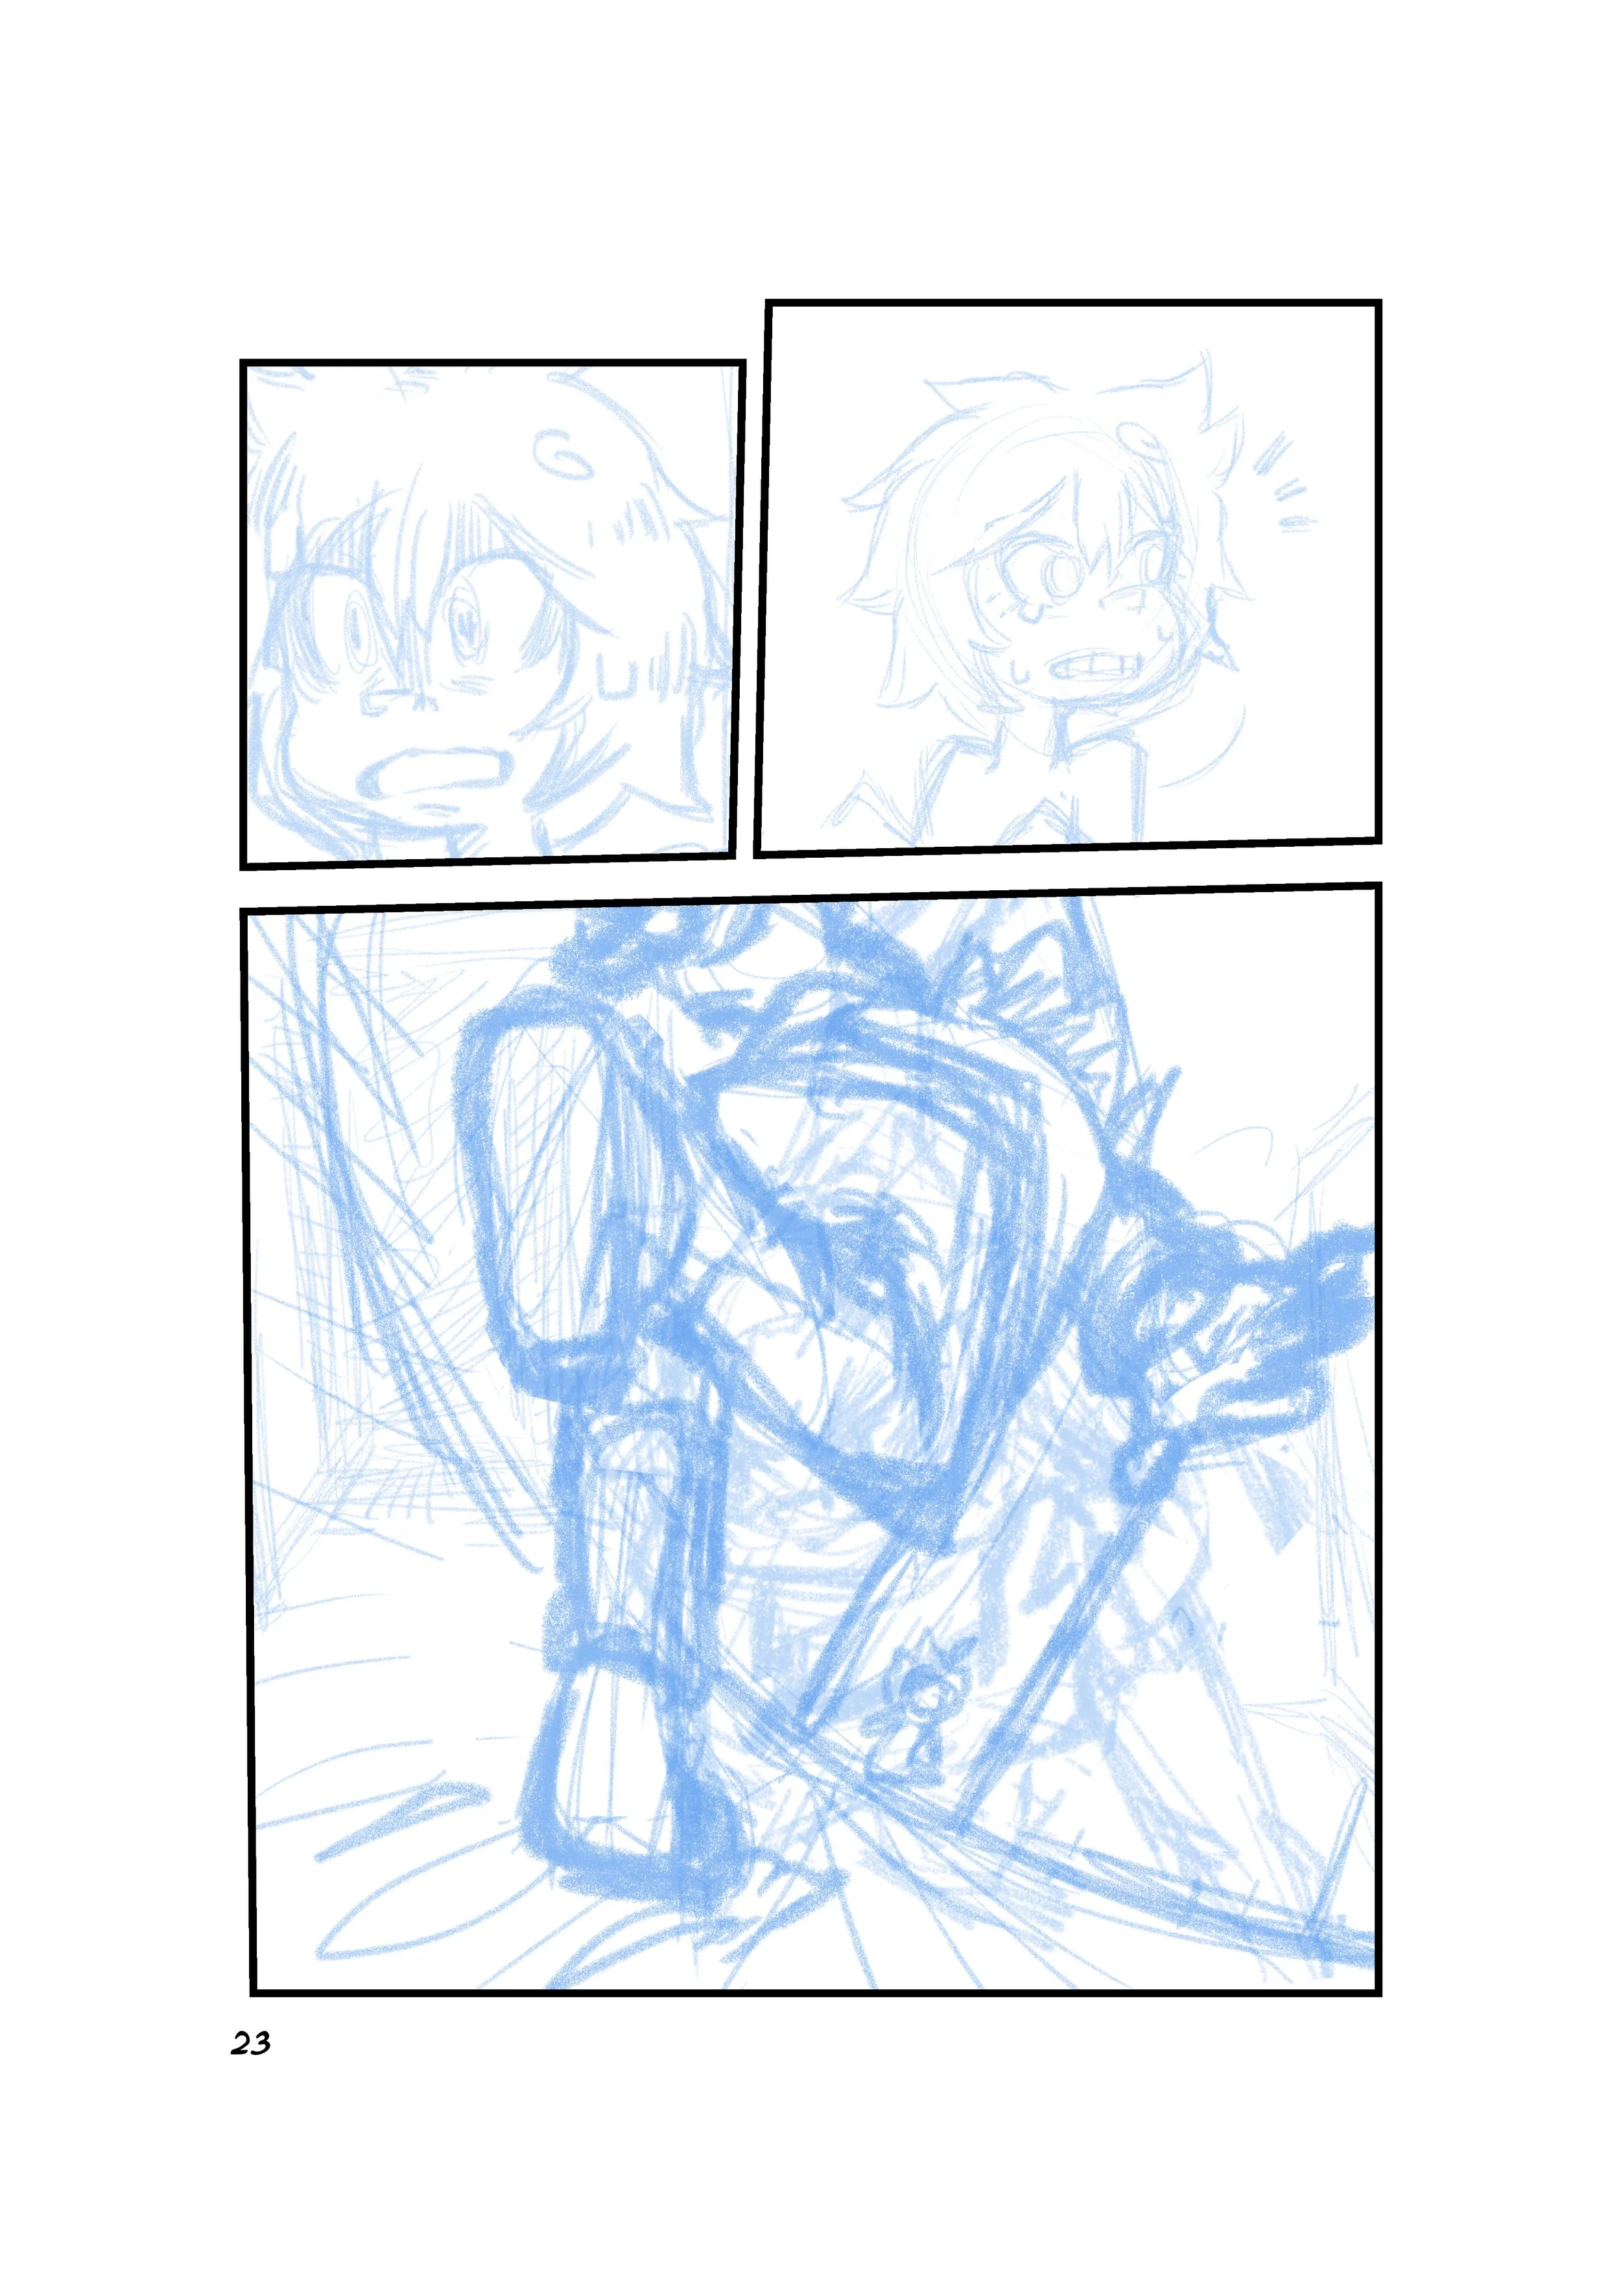
SKETCH DRAFT
Next I start sketching the draft pages of the comic using reference from other comics and Pinterest as inspiration for how to organise the panel. The software I recommend is called clip studio paint it is essentially tailor made to create comics and webtoons and it is very simple to use.

ILLUSTRATION AND TYPE
Second to last is the proper illustration this is where I do line art and editing anything that I think can look better. This is my favourite step as everything starts to come together visually. Lastly is the type where I’ll type out the script into speech and thought bubbles fitted in the illustrations/ panels.
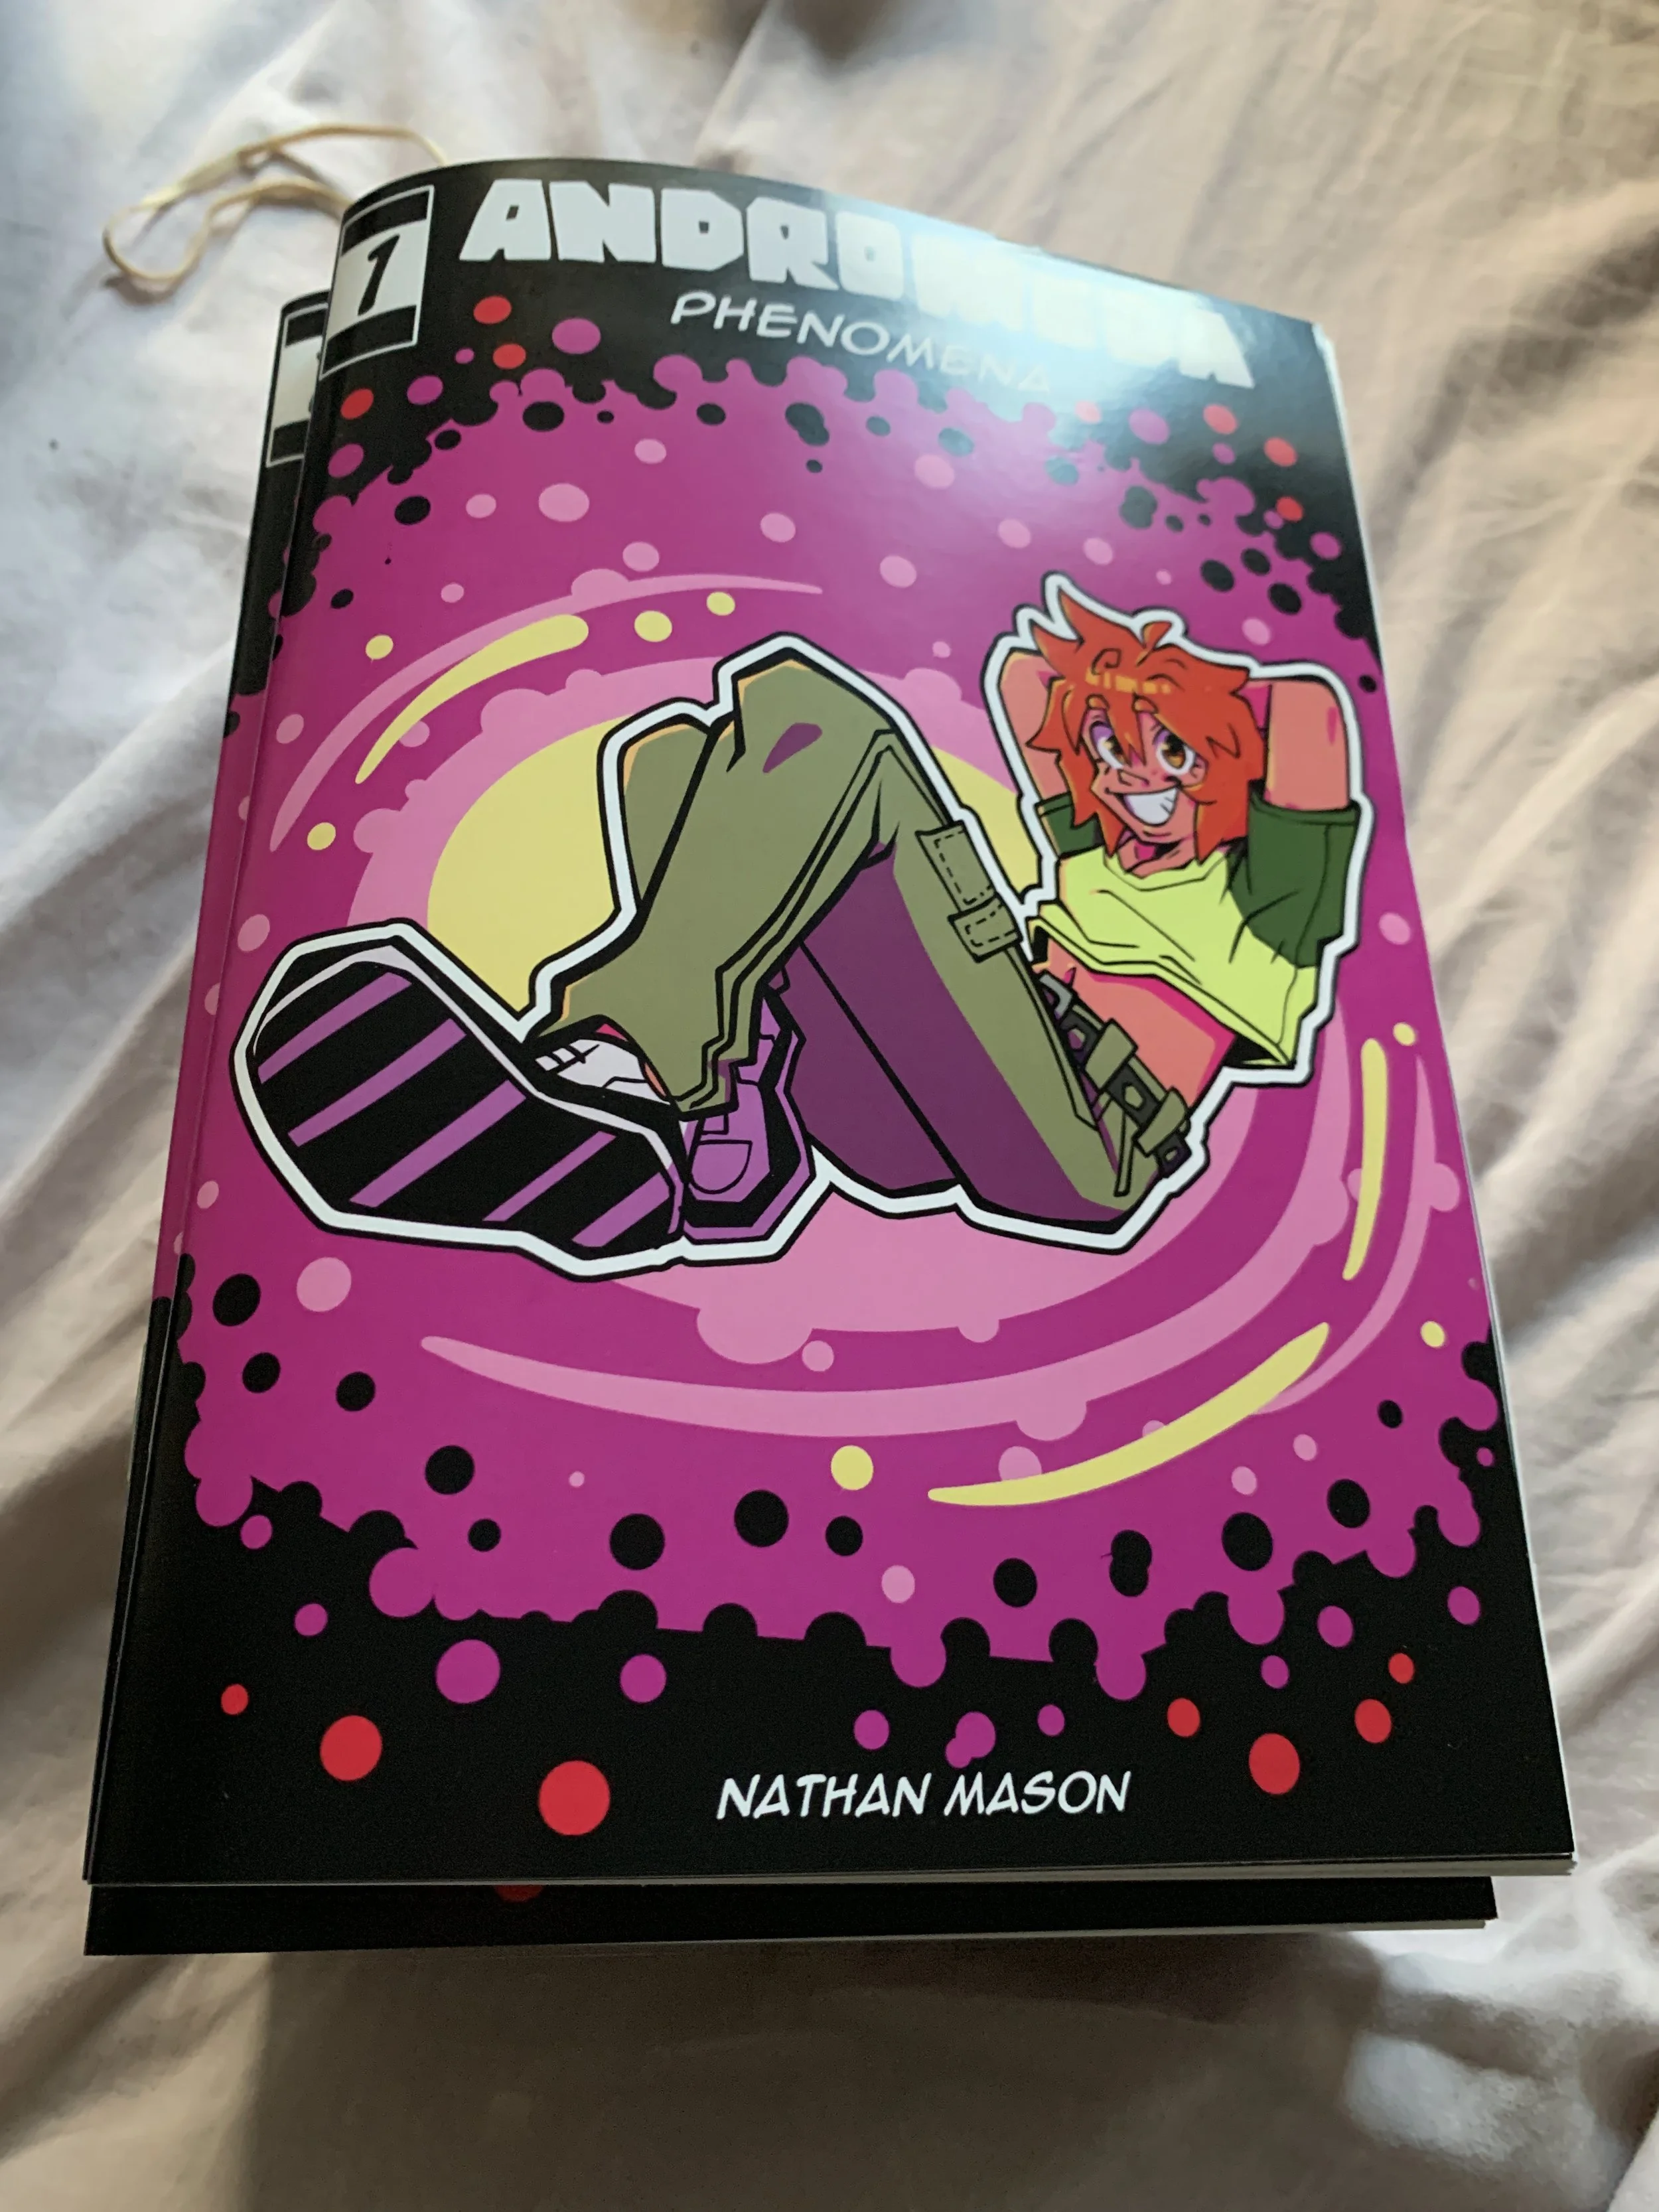
PRINT AND SIZES
For uploading I have to make sure that the comic is specific size as both print and uploading to a site like Tapas requires for it to be certain sizes and resolutions. For Tapas it has a specification of 940 px (length) x 4000 px (height) so I make sure that all the pages of the issue are made to that size, which is simple to do on Clip Studio Paint. When I print the comic I go to a place in south Croydon called Cherrill Print in which I get my comic printed at an A5 size.
Here’s a link to my comic series on Tapas.io